Creating a new website can often feel like stepping into an unfamiliar territory—exciting but daunting. For New Zealand business owners looking to make an impactful online presence, understanding the role of wireframing in WordPress development is a crucial first step. This blog post aims to break down the complexities of wireframing and illuminate its indispensable role in creating a successful WordPress website.
What is Wireframing? ️
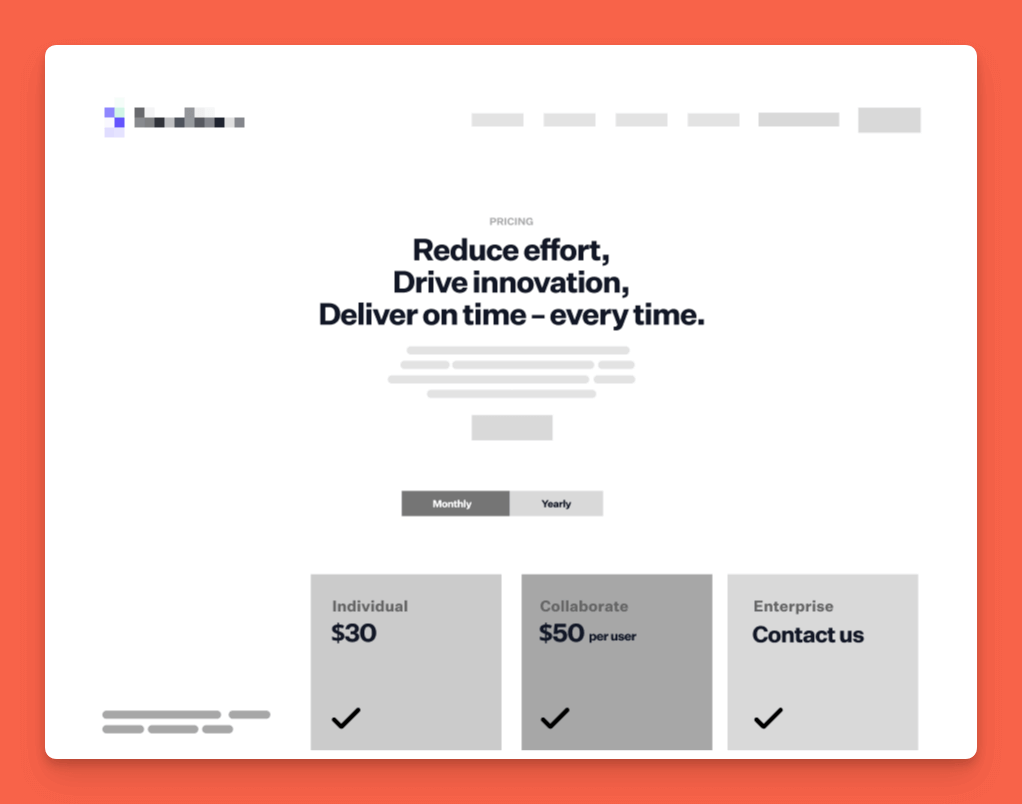
Wireframing is essentially the blueprint of your website. Think of it as the skeletal framework that outlines the basic structure and layout before any detailed design or content is added. Just as an architect’s blueprint guides the construction of a building, a wireframe guides the development of a website. It’s a visual guide that represents the skeletal framework of a website, showcasing where different elements will reside.
Why Wireframing is Essential
Wireframing plays a pivotal role in the early stages of WordPress development and for several reasons:
- Clarity and Focus: Wireframes allow you to visualize the structure of your website without the distraction of colors, fonts, or images. This helps in focusing on the placement and functionality of various elements.
- Feedback and Iteration: Early stage feedback is invaluable. Wireframes can be easily modified based on stakeholder input, ensuring that the final design aligns with business goals.
- Efficient Development: With a clear blueprint in hand, designers and developers can work more efficiently, reducing the risk of costly reworks and ensuring a smoother development process.
The Wireframing Process in WordPress Development
Step 1: Understand Your Goals
Before jumping into wireframing, start with a clear understanding of what you want to achieve with your website. Are you looking to attract more customers, showcase your portfolio, or offer online services? Defining your goals will shape the wireframing process.
Step 2: Research and Gather Requirements ️
Understanding your target audience’s needs and preferences is paramount. Conduct research, gather data, and consult with stakeholders. This preparatory phase ensures that your wireframe will cater to the end-users effectively.
Step 3: Sketch the Layout ✏️
Begin with simple sketches to map out the structure of your website. Identify key sections like the header, footer, navigation menu, content areas, and call-to-action buttons. Tools like Google Draw can do the trick, but we love our pen and paper at this stage.
I recall working on a project for a local business in Auckland. Initially, they wanted a colorful, image-heavy homepage. However, after sketching out a wireframe, it became clear that a simpler design focusing on their unique services would be more effective.
Step 4: Create the Wireframe ️
Once you have a rough sketch, it’s time to create a more detailed wireframe using digital tools. In WordPress development, wireframing tools such as Figma can be highly effective. These tools allow for greater precision and interactivity, enabling stakeholders to visualize the user journey.
Step 5: Review and Iterate
Share the wireframe with key stakeholders and gather feedback. This iterative process is crucial for refining the design and ensuring it meets all requirements. Use the feedback to make necessary adjustments.
Step 6: Develop and Test ️
With a final wireframe in hand, developers can begin translating the blueprint into a functional WordPress site or at least start generating ideas on how to tackle the site. The wireframe serves as a roadmap, ensuring that the design and functionality align with the initial vision. Regular testing throughout the development phase ensures that the website performs optimally across different devices and browsers.
Practical Benefits of Wireframing in WordPress Development
Streamlined Communication
Wireframes serve as a universal language between designers, developers, and stakeholders. By visualizing the structure, everyone involved can easily understand and discuss the layout and functionality of the website.
Cost and Time Efficiency
Investing time in wireframing can save significant resources in the long run. It helps identify potential issues early, reducing the need for extensive revisions during the development phase. This efficiency translates into cost savings and a faster time-to-market.
Enhanced User Experience
Wireframes focus on the user journey, helping to create intuitive and user-friendly websites. By placing emphasis on the layout and navigation during the wireframing stage, you can ensure a seamless user experience, which is crucial for retaining visitors and driving conversions.
Addressing Common Misconceptions
“Wireframing is Time-Consuming” ⏳
While wireframing does take time, it’s a worthwhile investment that saves time in the long run. By establishing a clear structure early on, you can avoid costly revisions and ensure a smoother development process.
“Wireframes Limit Creativity”
On the contrary, wireframes can enhance creativity by providing a clear framework within which designers can experiment and innovate. It allows for focused creativity, ensuring that design elements serve a functional purpose.
“Wireframing is Only for Large Projects”
Regardless of the scale of your project, wireframing is beneficial. Whether you’re developing a small business website or a large e-commerce platform, wireframes provide clarity and direction.
Transition from Wireframe to Design Using Figma
In our process, we use Figma to create wireframes and then transition them into detailed designs. Figma is an intuitive, user-friendly tool that allows for real-time collaboration, making it easier for teams to work together seamlessly.
Step 1: Building the Wireframe in Figma
In Figma, we start by creating a low-fidelity wireframe. This means we focus on the basic structure and functionality without getting bogged down by colors, fonts, or images. The goal here is to map out where different elements will go and how they will interact.
Step 2: Understanding and Aligning with Goals
Throughout the wireframing process, we constantly revisit our goals. For instance, if the primary goal is to generate leads, we make sure that call-to-action buttons are prominently placed and easy to find. If the goal is to showcase a portfolio, we ensure that image galleries are accessible and visually appealing.

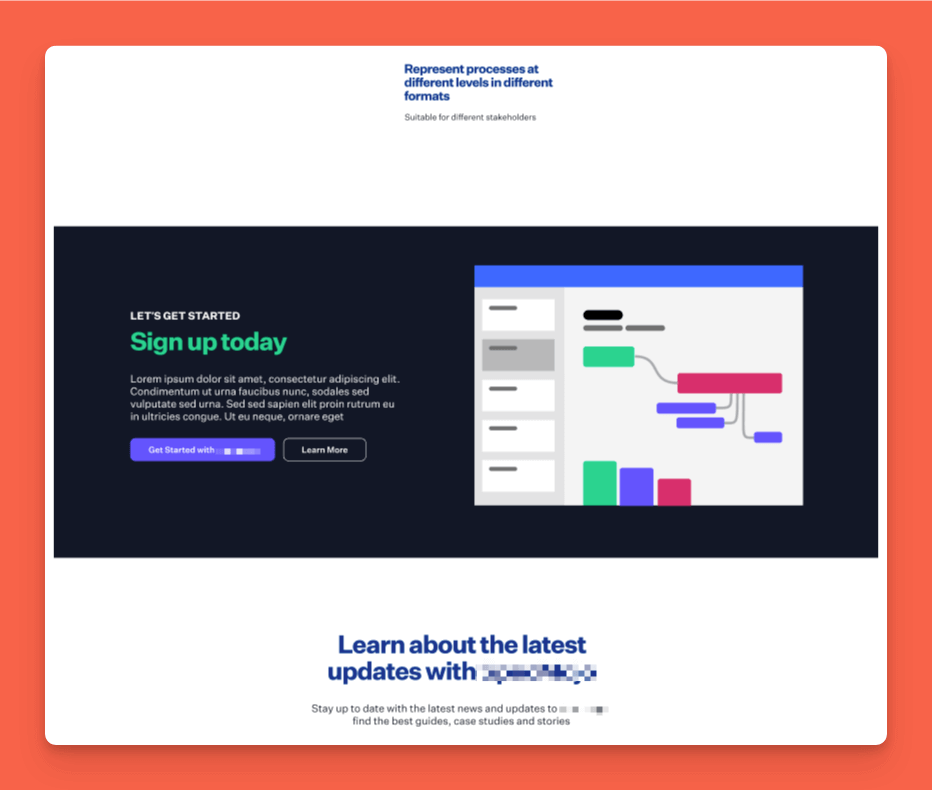
Step 3: Transitioning to High-Fidelity Design
Once the wireframe has been finalized and approved, we transition to a high-fidelity design in Figma. This step involves adding detailed design elements like colors, fonts, images, and interactive components. The high-fidelity design transforms the wireframe into a more polished, visually appealing layout that closely resembles the final website.
Step 4: Prototyping and User Testing
Figma also allows us to create interactive prototypes. These prototypes can be used to conduct user testing, gathering valuable feedback on the user experience. By testing the design with real users, we can identify potential issues and make necessary adjustments before development begins.
Conclusion
Wireframing in WordPress development is an indispensable step that lays the foundation for a successful website. By focusing on structure, usability, and functionality, wireframes ensure that your website meets the needs of your business and your users. For New Zealand business owners embarking on the journey of website creation, embracing wireframing can lead to more efficient development, better user experience, and ultimately, a more impactful online presence.
So, whether you’re a small business owner in Wellington or a large enterprise in Auckland, incorporating wireframing into your WordPress development process is a step you can’t afford to skip. Embrace the blueprint and watch your vision come to life with precision and purpose.
Table of Contents
Authors